Welcome to the sketch blog hop! The purpose of the sketch blog hop is to show how different designers can take the same sketch and come up with totally different cards....
If you happened upon my blog, be sure to go to the first stop, www.craftycardgallery.blogspot
Here's the sketch:

Here's my card:

Hi guys! Hope you like my card for my very first Blog Hop *dances excitedly!* so excuse me if its a bit rough around the edges, I am learning! For the card I used the gorgeous Kaisercraft collection in 'Secret Admirer' its such a bright and cheerful collection with gorgeous affirmations. I used both sets of collectables for this and the paper pad. I added some bling with a few rhinestones!
Thanks so much for visiting!
Your next stop in the hop is:Lisa http://
Here's the full lineup in case you get lost....
Jennifer www.craftycardgallery.blogspot
Lisa http://
Zenita http://
Shawnee http://
Jamie http://
Susan http://
Tonia www.twcards.blogspot.com/
Welcome to the sketch blog hop! The purpose of the sketch blog hop is to show how different designers can take the same sketch and come up with totally different cards....
If you happened upon my blog, be sure to go to the first stop, www.craftycardgallery.blogspot
Here's the sketch:
If you happened upon my blog, be sure to go to the first stop, www.craftycardgallery.blogspot
Here's the sketch:
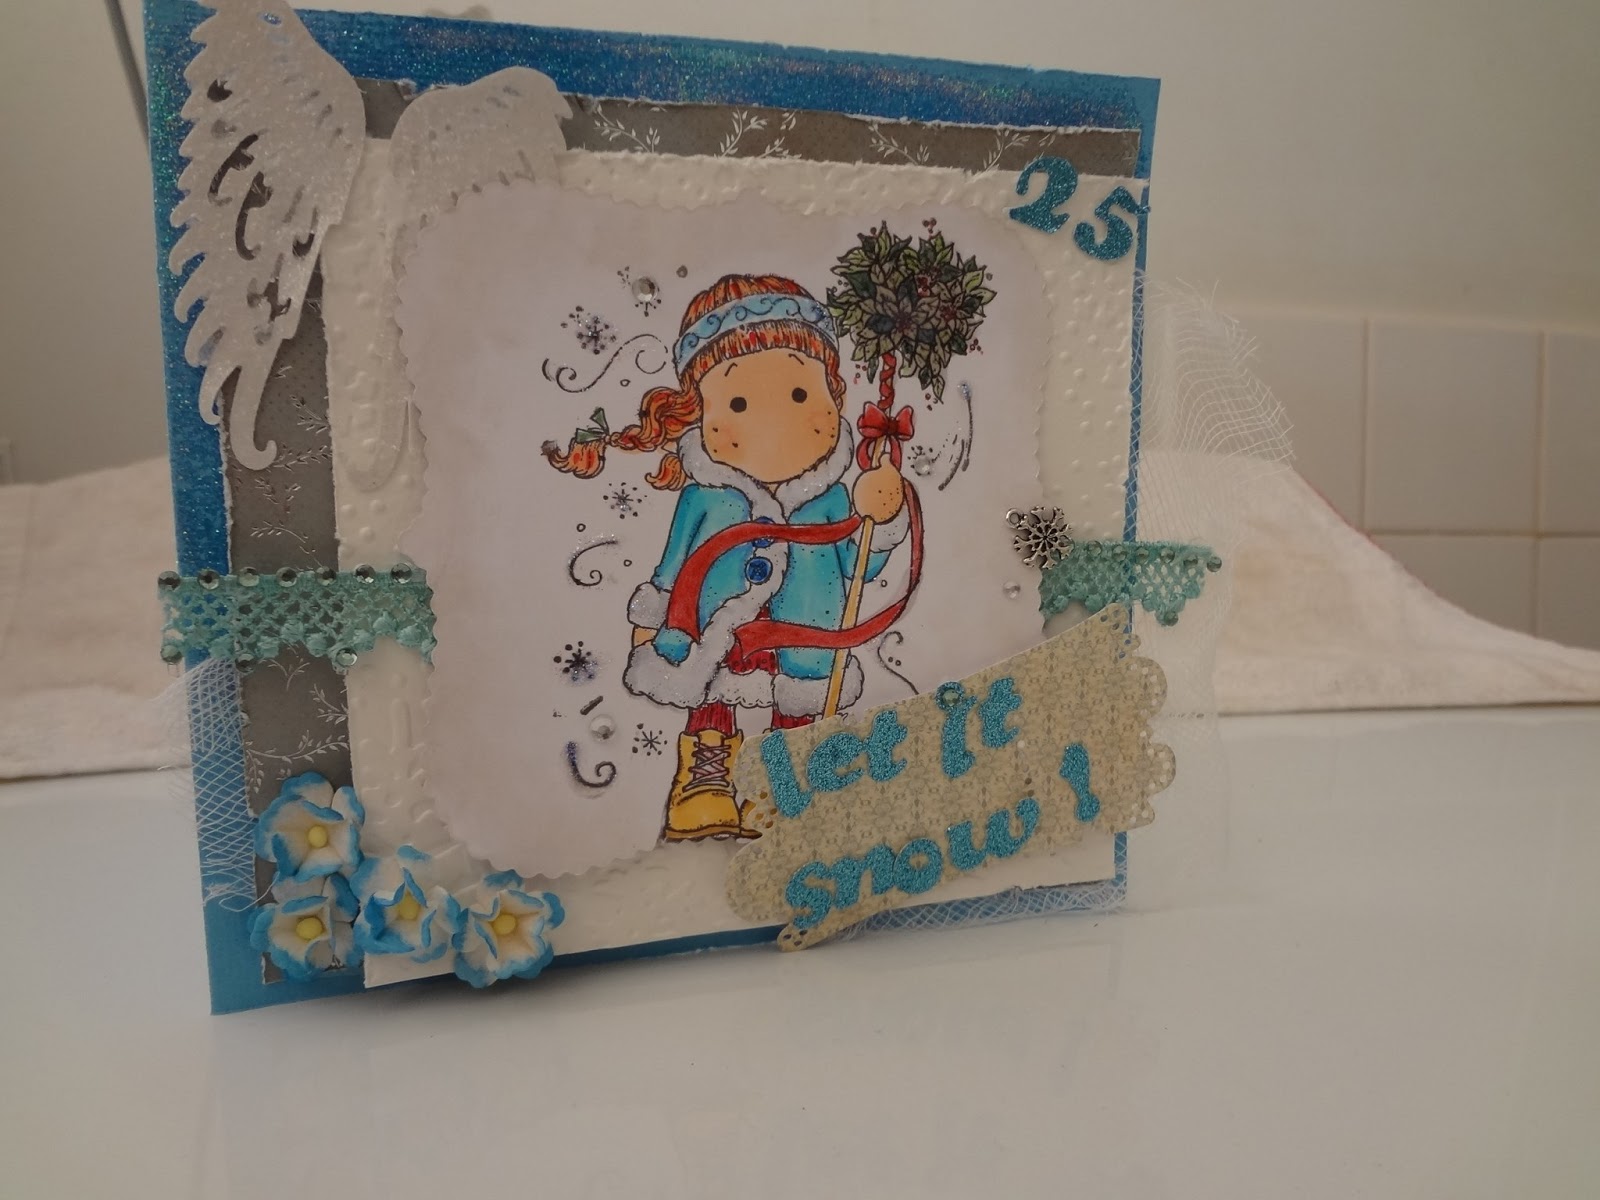
Here's my card:

Hi guys! Hope you like my card for my very first Blog Hop *dances excitedly!* so excuse me if its a bit rough around the edges, I am learning! For the card I used the gorgeous Kaisercraft collection in 'Secret Admirer' its such a bright and cheerful collection with gorgeous affirmations. I used both sets of collectables for this and the paper pad. I added some bling with a few rhinestones!
Thanks so much for visiting!
Your next stop in the hop is:Lisa http://
Here's the full lineup in case you get lost....
Jennifer www.craftycardgallery.blogspot
Lisa http://
Zenita http://
Shawnee http://
Jamie http://
Susan http://
Tonia www.twcards.blogspot.com/